
As it was Abbey's 10th Birthday in May it is time to look at a few overdue jobs. One of these is her windscreen supports which have become rather corroded. Perhaps more so than most as she has been used day in and day out summer and winter and so has seen her fair share of salt on the roads.
This is the state at the start. Note that if you click on any of these images you should get a bigger one depending the size of your window.

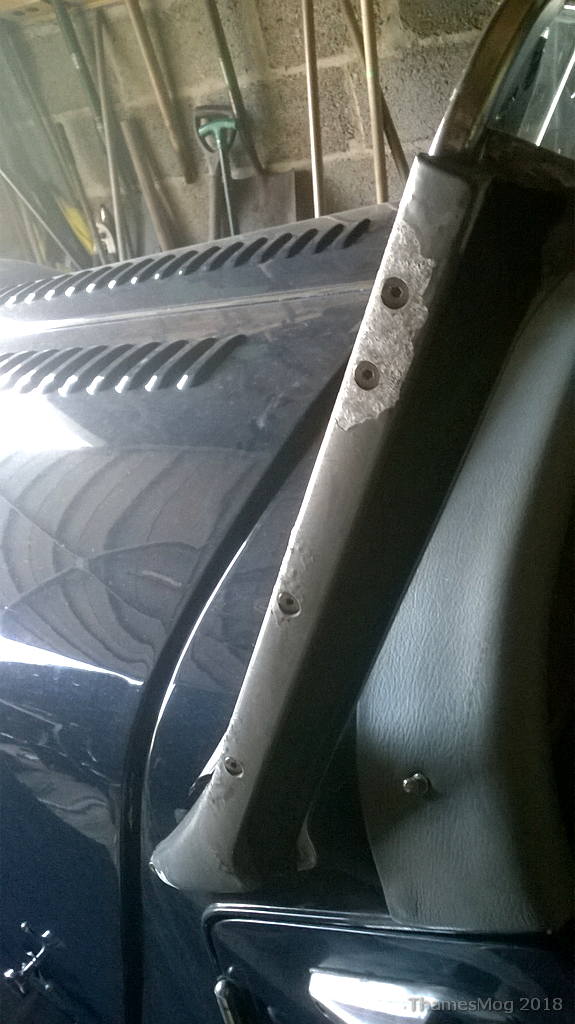
Now some people have, I know, chosen to get these plated and I have certainly thought about that. I investigated re-coating but I was advised that as they are aluminium the adhesion could not be guaranteed so I decided not to do that. Eventually, at least in part as I have the kit to do it, I decided to see of they could be polished. This should be a cheap and relatively easy process that doesn't preclude doing something else later and should be durable enough with a suitable laquer finish.
First job was to get them off. This was a process of discovery as I had not done this before.
- Remove the rod mounted mirror and lose the bottom grub screw in the foot well somewhere (the last bit is optional.)
- Remove the 4 screws in each side that secure the windscreen; carefully tape them to the screen so I know which goes where when I put them back. This should also ensure they don't go the way of the grub screw.
- Remove the 2 securing bolts that can be seen and note that the second one just spins
- Remove the dashboard to get to the nuts on the inside and make a note to do this first next time.
- Note that there are 3 securing bolts one of which is captive in the support so has to be undone from underneath.
- Leave the windscreen propped against one support to avoid the need to remove the heater element wiring. This means that they have to be done one at a time; probably no bad thing.
- Remove the rubber gasket from the bottom of the support and set aside for re-use later.

Next job is to remove the neoprene and then the powder coating. I had done some investigation online and the appropriate method seemed to be gasket remover. Domestic paint remover may work but as most are caustic they will not be aluminium friendly. So this is what I did. Outside and well away from any risk of spraying paintwork with it.

This is an opportunity for a coffee and a look at today's crossword to give it time to soak.
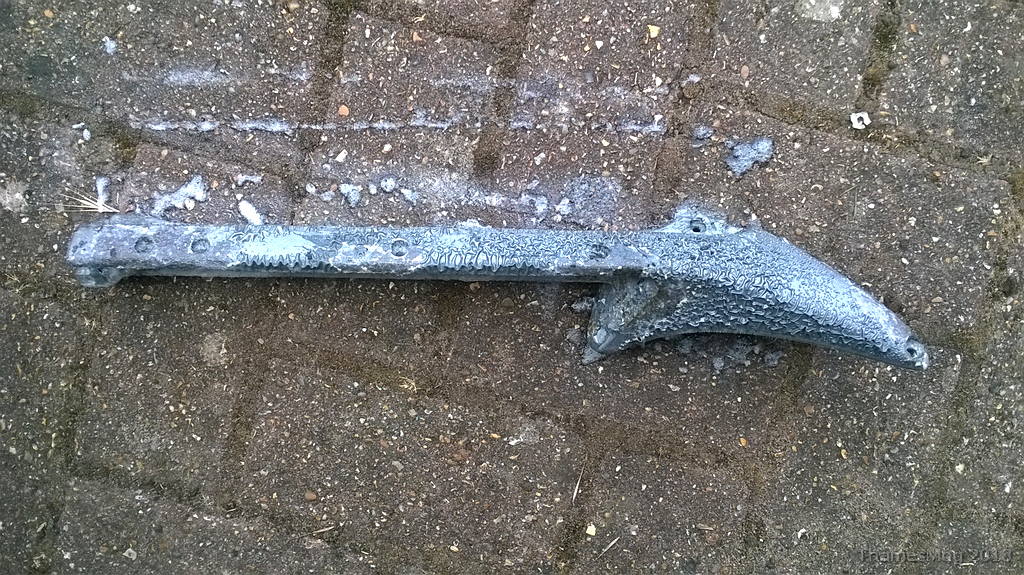
That looks like a good result so I set to with a suitable tool to remove the now loose surface finish. This revealed a white layer underneath so I think it's not powder coat, just paint. A second application was needed to get that layer off.
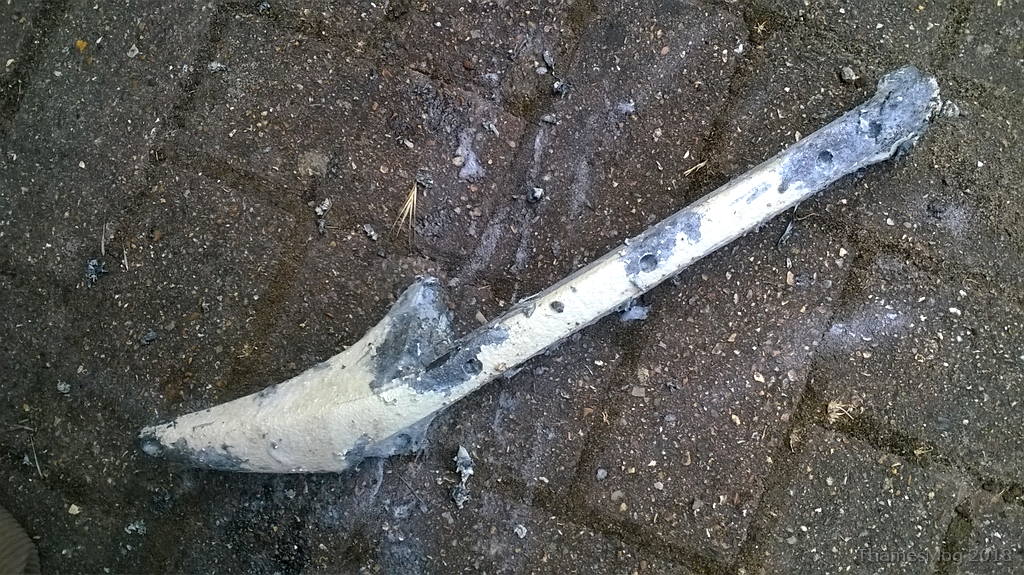
Finally after some treatment with a soft wire brush and a rinse under the kitchen tap the general state of the original finish was revealed as being pretty good but marred by the corrosion as expected.

I then attacked it with a fine scotch-brite abrasive wheel. That wasn't effective so I moved via a medium one to a course one. I didn't want to start with course in case it was too aggressive but it was what was needed. Quite a lot of metal was removed to clear all of the corrosion and even then in some places I am not sure I removed enough, we shall see. This produced a very nice brushed aluminium finish. I had planned to go through the full process to get to a mirror finish but I decided that this was both quite attractive and probably a good key for any other finish that might be needed should this prove to be too fragile. So I treated it to a coat of laquer and left it to dry.

So now it's time to put some new neoprene on this one and refit it so I can do the other side. The other side will have to wait a day or two as scotch-brite wheels wear away quite quickly so I have had to order some more. The second side was more difficult to strip than the first. I eventually decided that this was a temperature thing as I had done the first in full sun and the second in the shade. This suggests that doing this on a dull or cooler day may be a struggle.
The Neoprene I used was 3mm by 30 to go between the windscreen and the support and 4mm by 25 for the sidescreens to close against. It all refitted fairy easily by assembling it loosely and then tightening first the windscreen followed by the supports fixing to the scuttle. Finally refit and secure the dashboard.

The result is quite pleasing. It actually looks as though it should be like that.
DISCLAIMER: This is what I did. If you choose to do the same it is your responsibility to make sure that your working methods are safe and the result is to what you want. Don't take it on if you are doubtful or you don't have experience of mechanically polishing metal.